PROJECT
Windows Retrospective
Project Overview
I started this project because I wanted to learn more about virtualisation and use this learning time to do something fun and potentially difficult. In this project I will be using VMware workstation to set up and play around with previous versions of Windows.
If you want to follow along, please do. The final task takes a bit of effort, but it’s so worth it. Let’s step back through time and visit the nostalgia that is Windows XP, Windows 2000, Windows 98, Windows 95, and the granddaddy of them all: windows 3.1.
Windows XP
Here we go! Step 1. Windows XP. After grabbing a Windows XP ISO, it’s time to cook up the first spicy machine of the day.
This is the easiest one to install. In VMWare workstation:
New > Load ISO > Add product key (VMWare has an easy install function) > Name it > Allocate disk space.
On the final screen, I like to click on ‘Customise Hardware’ and remove the network adaptor. Finish.
For all of these VM’s, I won’t be giving them access to the internet.
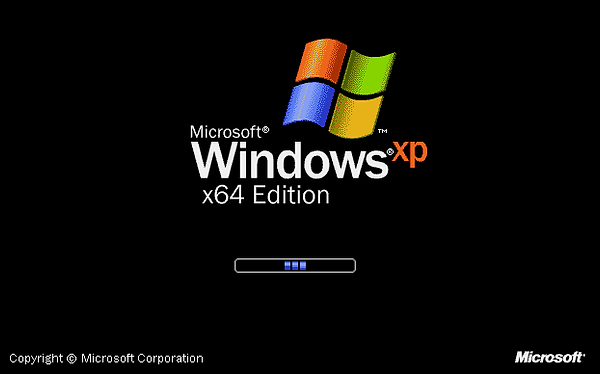
The VM will boot up and start copying over files. It looks pretty low-tech looking at it. There it is. What a glorious logo. It’s a good feeling seeing this load up for the first time in well over 15 years.
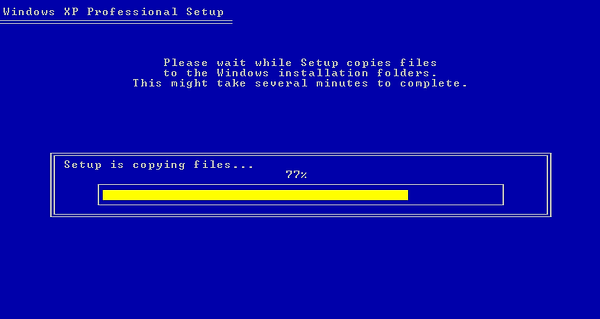
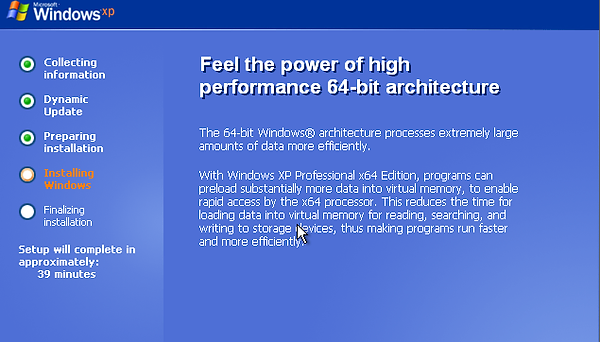
This part of the install process is kind of funny. The operating system is estimating the time to finish the install (I presume) based on the spec of computers at the time. It says 39 estimated minutes but in reality it took about 2. The timer rockets down in no time.
Hearing that boot up sound for real on an actual machine, no word of a lie – goosebumps.
Windows might throw up an alarming-looking error after the welcome screen but it’s OK – it doesn’t mean anything important.
It will reboot once or twice, install the VMWare tools and you’re in!

And there it is, the desktop of Windows XP, in all its majesty. The start menu looks pretty good. Windows Messenger pre-installed brings back some childhood feels.


Windows movie maker! I completely forgot about this. It’s editing videos (badly) on this as a teenager which made me get into editing, seek a career as an editor, go to uni, get a job where I currently am, only to end up a media and data manager. I‘m so used to the search function, that I opened the start menu and started typing, then I realised… There’s no search function. There’s a dedicated search area with a weirdly animated dog on the side. What a good boy.


Taking the animated tour of Windows XP from the start menu is something I actually haven’t ever done before. It was an experience alright, and if you do this, I’d recommend you take the tour, too. And what tour of XP would be complete without visiting one of the greatest, if not THE greatest video games to ever grace player’s screens. Of course, it’s 3d Pinball Space Cadet. Many hours have been spent playing this. It’s truly a masterpiece.


There’s the media player. I spent a good many hours on this back in the day. Defragging your disks was also something to keep on top of back then. I doubt I’ve manually done it once in the last ten years.


I completely forgot that spider solitaire was a thing. Of course, there’s normal solitaire. I HAD to get a complete game before I finished. I had no joke, roughly 30+ games. I don’t know why I kept failing so badly. Either my luck was running dry or I just suck a solitaire. That’s about it for XP. Time to hear that iconic shutdown sound.


Windows ME
This generation of Windows machines can be a bit fickle as a VM, specifically Windows 2000. From what I’ve read, it doesn’t even work in VMWare, and it only works setting an IQR delay to the config file in VirtualBox. It apparently installs faster than the OS is expecting, prompting a “woah, woah, woah there, buddy! We’re not havin’ that!” and it shuts down.
Setup is fairly easy (if you’re going with ME and not 2000). New VM > Add ISO > go through the rest > remove network adaptor > Start.
Boot from CD-ROM. Start Windows setup from CD-ROM. Then you’ll get a super short setup and the VM will reboot


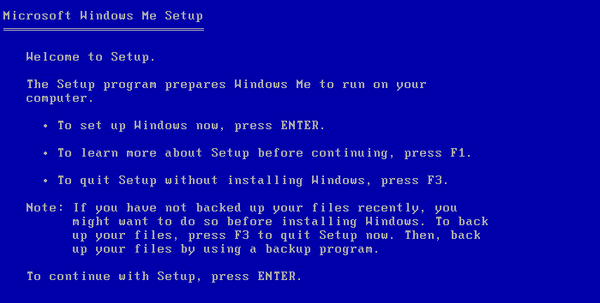
To continue on, repeat what you just did. Boot from CD-ROM > Starts Windows setup from CD-ROM.
The setup will start where it left off (it won’t start all over again).


Go through the motions, name your PC and you’ll get to the point of watching it install with all of the “better than ever” sales pitches rolling in. After it finished, it will reboot; there’s no need to do anything, it just picks back up
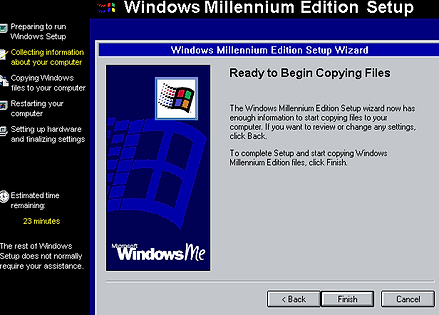
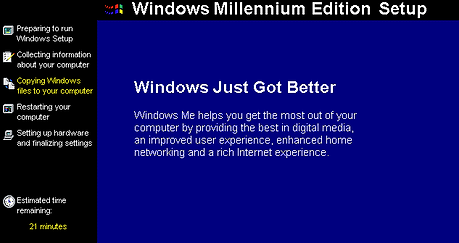
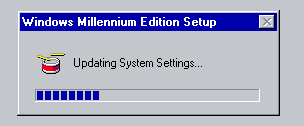
This screen is the final section before it lets you into the glory that is Windows Millennium Edition. One more reboot before it finishes off. The reboots are also on a short timer so you don’t actually have to do much, just name the PC and put the CD Key in.
The drums at the very end of the setup are cute.
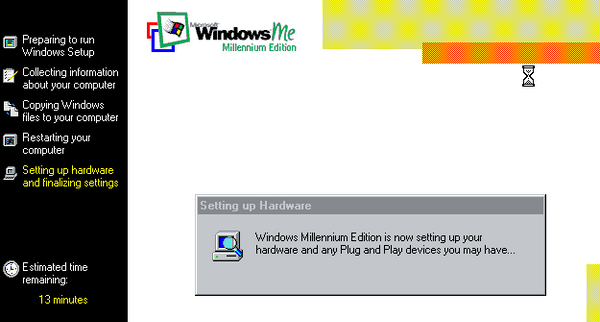
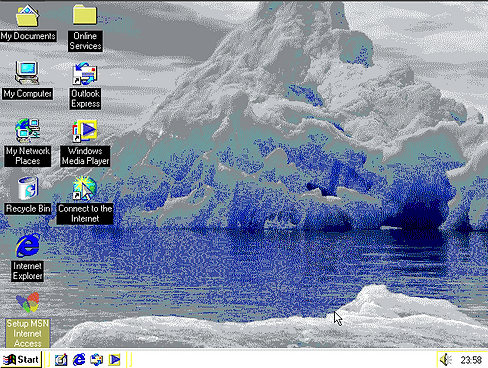
We’re in! Time to change the background to a full image. I’m a bit limited to 16 bits of colour so it’s not looking super great, but the thought was there. I changed the colour scheme to something a bit more interesting, too.
The recycle bin looks a bit more familiar from a memory of the distant past. MSN internet access is a throwback.
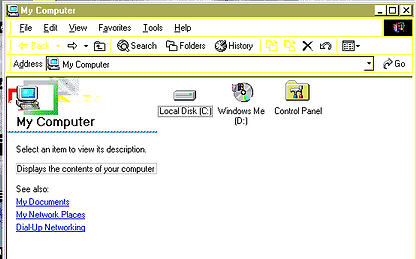
I think this is the first “My Computer” appearance in a Windows OS, now named “This PC”.
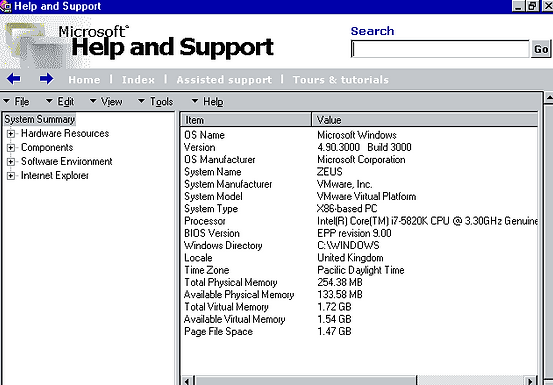
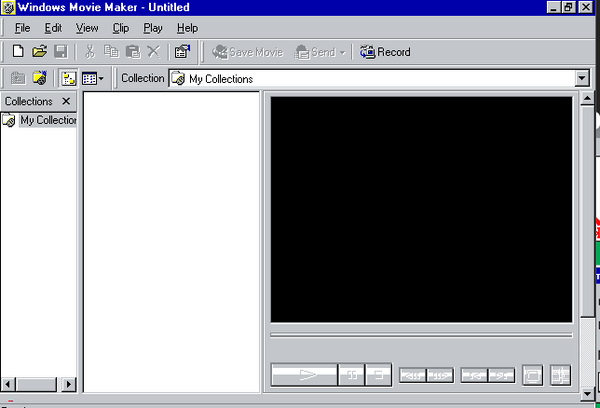
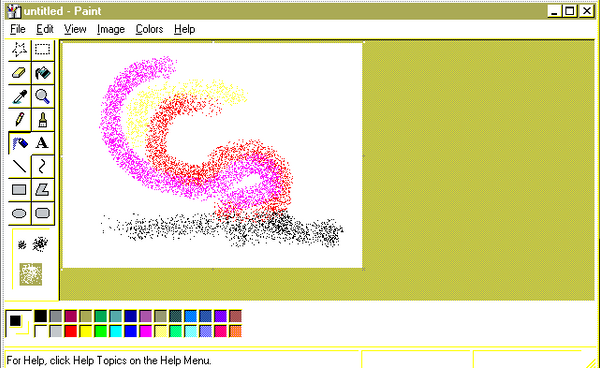
System information! OnePaint barely changed if at all of my favourite current Windows features. It’s looking quite familiar. Oh look! It’s Windows Movie Maker. I THINK this is the version before I started using it. It looks old, like an ancient CCTV player from 2003.
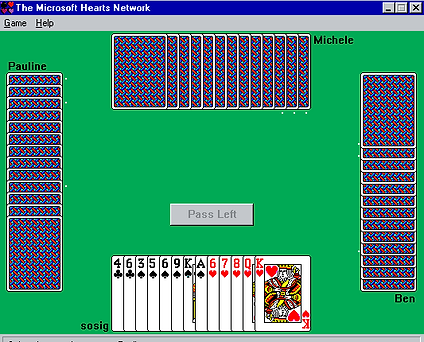
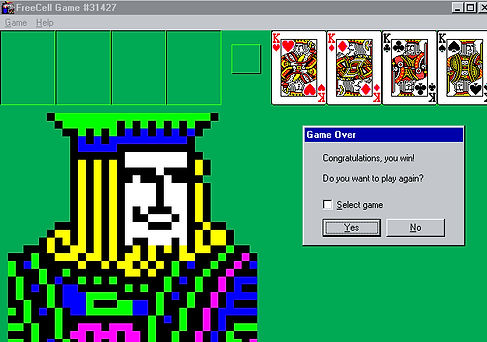
Finally, the card games. I forgot that classic hearts was a game on any OS ever. I learned how to play many years ago, now it looks alien to me. Freecell was in this OS, again, I forgot it existed. I played until I got a complete game – nice.
Windows 98
Half way there now. I don’t remember much of windows 98, but I know I definitely had one back in the day.
Time to get an ISO spun up and this OS installed on a shiny new VM.
It’s nice and simple on the VMWare front. Assign ISO, name it, remote the network adaptor and press Finish.
VMWare recommends using an IDE disk.
To start, boot from CD Rom and start installing. Spam enter. It might reboot – don’t panic. Do it again and it’ll enter setup.
It will say 21 minutes remaining but don’t believe the lies.
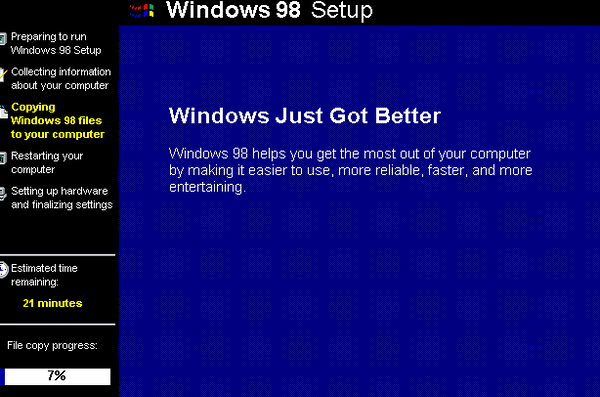
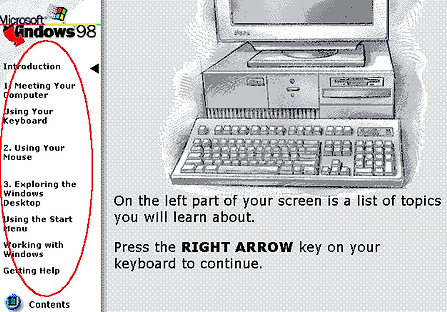
What a beautiful logo. Perfect. Config your time zone and get ready for startup. I decided to go to “Discover Windows 98”. Let’s see what’s new in this groundbreaking OS. The tutorials are very paint-like. It’s bizarre even having comparisons to a typewriter on a computer guide.
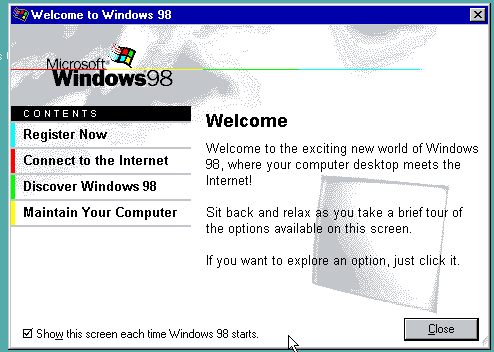
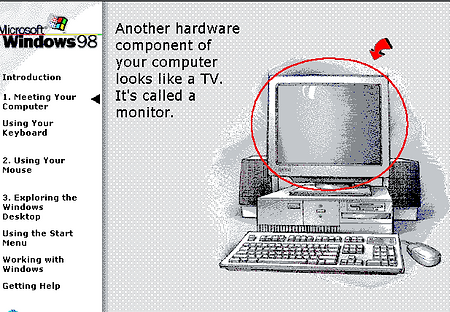
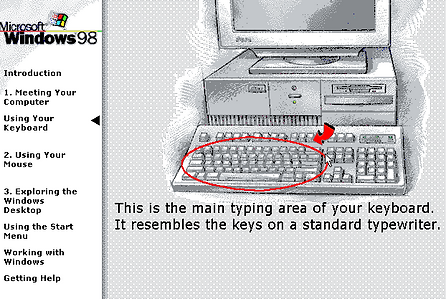
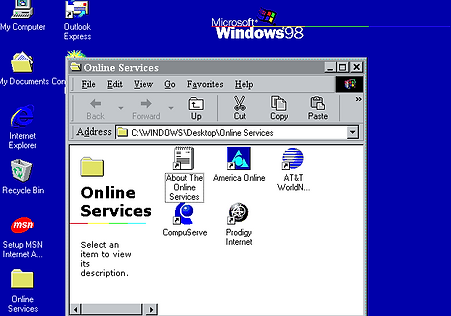
And there’s the desktop. Let’s poke around. Internet explorer uses HTTP 1.1.
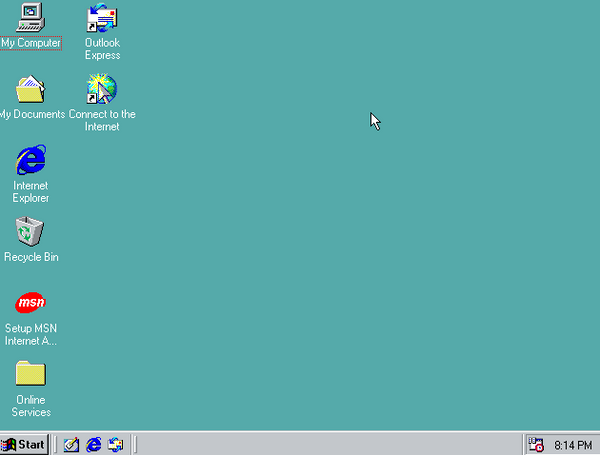
The C drive is formatted to FAT 16….
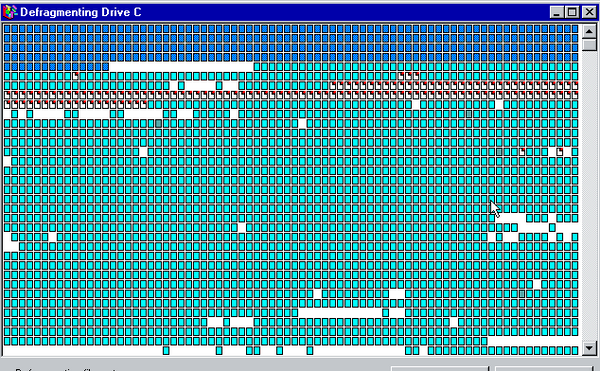
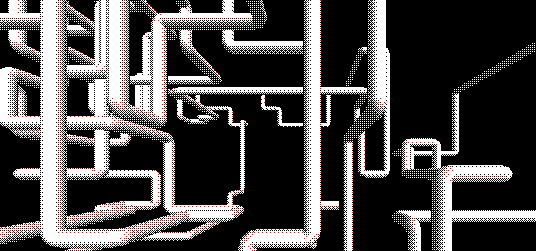
Let’s defrag the C drive and put on extra details to see it order all the blocks around.
Look at that. Magical. Mesmerising.

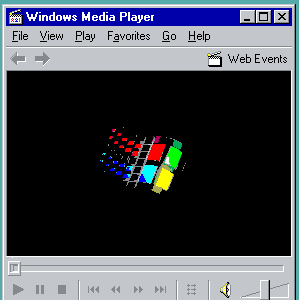
Having a look at some of the screen savers and taking in how the media player at that time is media player classic now.
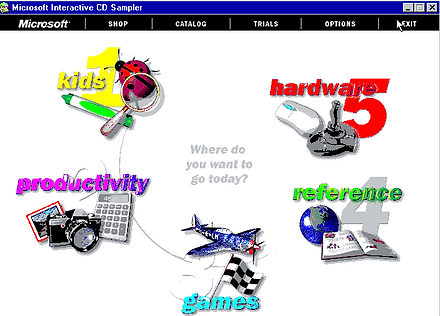
Finally, I checked out the super high res videos on the interactive CD sampler. I changed the background, changed the theme to “Eggplant” and upgraded my FAT16 C drive to FAT32.
Windows 95
Windows 95. I think this was my first operating system, although I can’t be sure. I think I had a jazzed up Windows 3.1 handed down to me from some rich kid who didn’t want it anymore.
The install is a bit more involved. You have to set up the VM manually before adding the ISO image.
“I will install the operating system later” > Windows 95 > Name it.
Remove the network adaptor and add a floppy disk to the VM. Then add a floppy disk image (.img) to the drive and boot this bad boi up.
When the machine starts you will be in the A:\ directory. Type dir to see the directory root of the floppy disk (A:).
We can run the fdisk command. Type: fdisk. Then follow setup. Every setting is ‘1’. Do everything to default – it’ll work.
This will then allow you to boot from a CD Rom ISO.
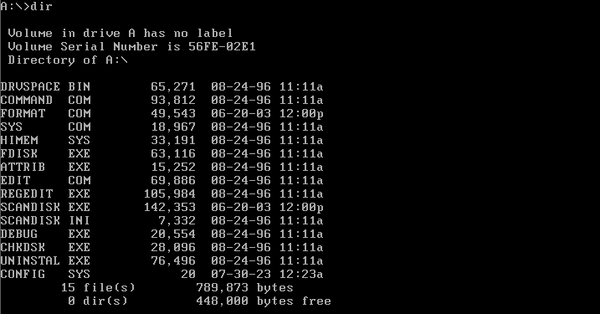
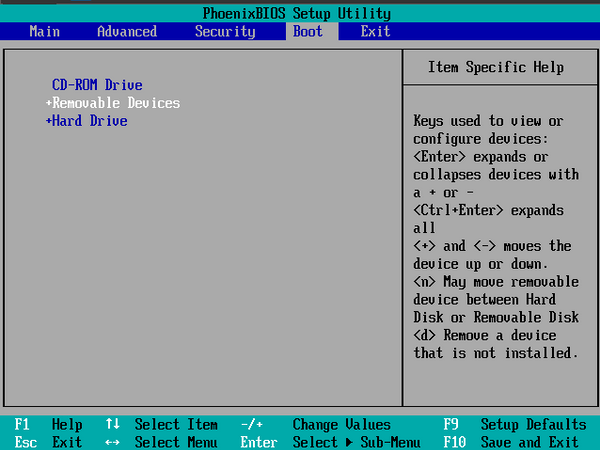
Assign the windows 95 ISO to the CD Rom drive. When, reboot the VM using VMWare player and spam F2 to enter bios.
Move over to the Boot tab and rearrange priority so CD-ROM Drive is at the top. You have to move the others down, you can’t move the CD drive up. F10 to save and exit. When it reboots, it’s time to cook our spicy new Windows 95 VM. It might ask for a startup disk. Just sack that off, cancel it. It’ll just install the OS anyway. Drama queen… Disconnect the ISO or it’ll loop on the install over and over.
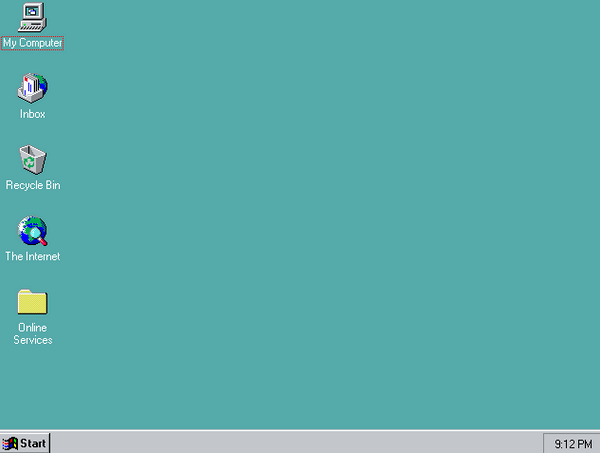
Let’s poke around. Look at this desktop. Elegant. Perfect. Pristine.
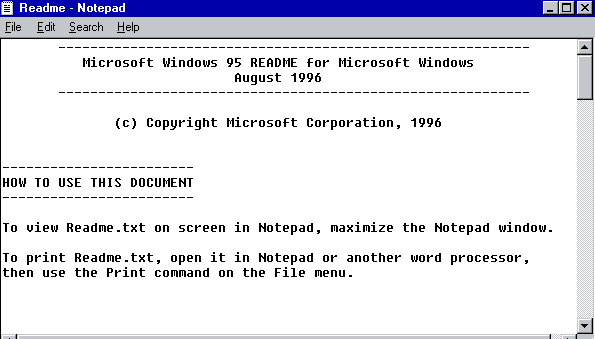
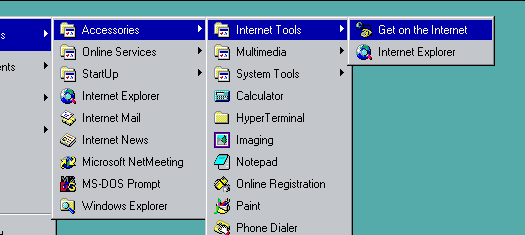
There’s no internet explorer. Just “The Internet”. There is a single document and it’s a readme saying “hey, you can print this if you like”.
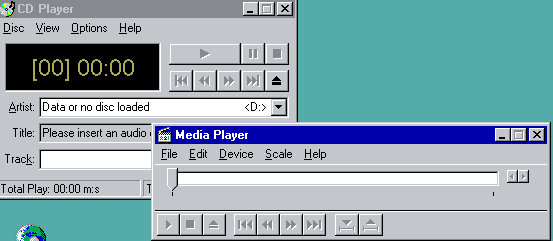
I get a kick out of the program “Get on the Internet”, like it’s a call to action or something. Below are the CD Player and media player.
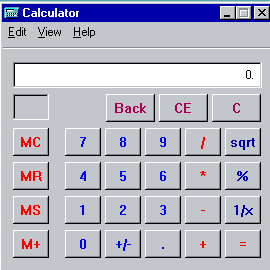
Checking out some more tools – look at this old calculator. Simple, doesn’t need changing. Works fine.
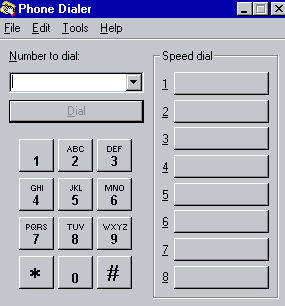
A phone dialer, because, y’know… no one had a phone back then. Internet was dial up back in the day so you either had to use one or the other.
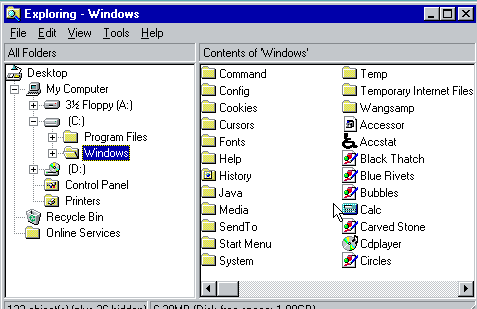
Finally, look at that windows explorer. It’s quite something. The C drive compared to nowdays is so minimal.
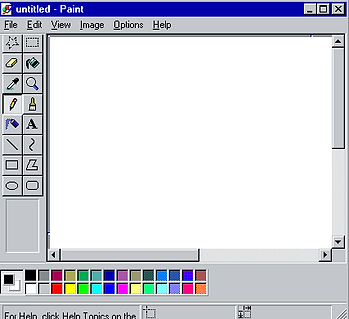
Paint made it’s debut in this OS after being rebranded from paintbrush in Windows 3.1, but it’s still called pbrush.exe.
That concludes this tour of 1995. Time to move on (or back).
Windows 3.1
It’s the final leg of this journey. Windows 3.1. The original, the first, the simplest of the Windows line.
You have to first install MS-DOS then you install windows 3.1, then start it manually.
This one’s a bit of a mission, so buckle up!
Select “I will install the operating system later” > Windows 3.1 > Name it.
Remove the network adaptor and add a floppy disk.
Then, source the 3x .img floppy disk images to install MS DOS and attach floppy disk 1.
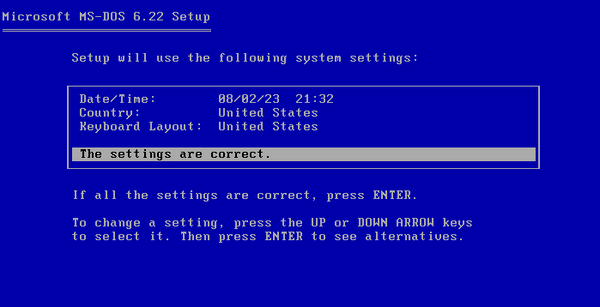
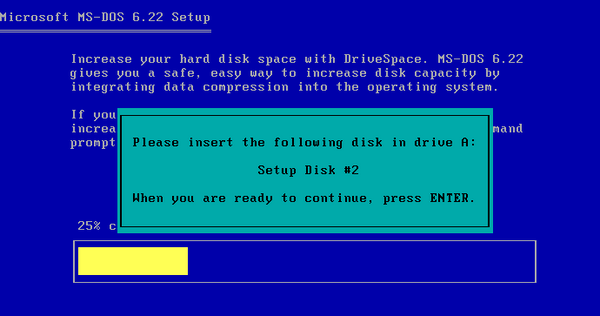
Go through the motions and start the MS DOS setup. You will have to switch out the floppy disks 1 by 1 for all 3 install disks.
After finishing up, disconnect the floppy disk drive. Reboot and you’re into MS DOS.
Attach the CDRom install floppy disk image and set your MS DOS to A: which will be your floppy disk drive.
Type dir to see the contents. Then type install.exe. This will install the CD Rom.
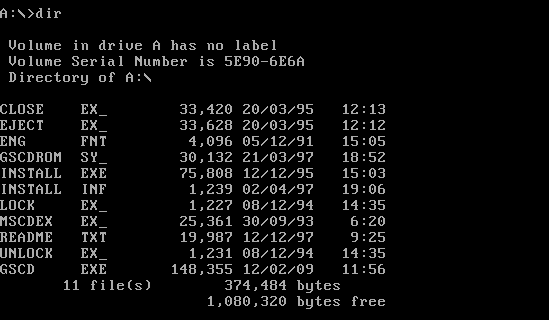
Now disconnect the floppy disk, we don’t need it. Connect the CD Rom drive and attach the Windows 3.1 ISO image to it.
Reboot and it will tell you that the CD Rom is loaded as D:.
Type D: to enter and see the contents with dir. Type “setup” to start the install. Go through the regular motions with the install. When finished, it’s time to have a play about!
Do the tutorial for a laugh – why not? You’re installing Windows 3.1, what else have you got going on right now?
After the setup is complete the system will reboot back into MS DOS. To taste victory, type “win” and press enter.
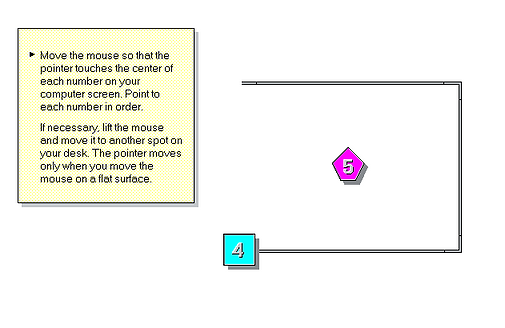
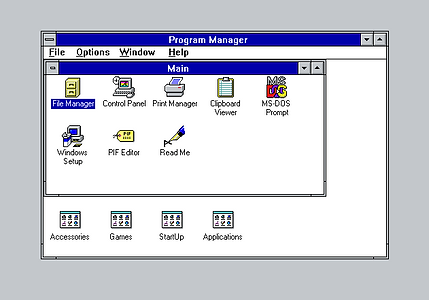
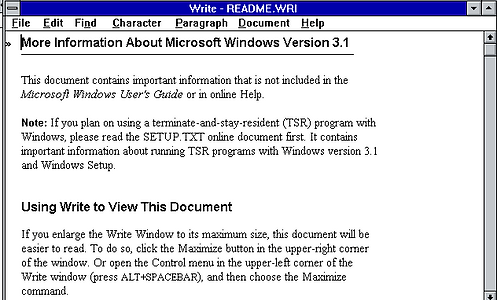
Yep. That’s the whole computer right there. You can see where some of the things we still have come from. We have the clipboard as an application, control panel and the folder tree-style document viewer that is file manager. It comes with a Read Me which is pretty nice.
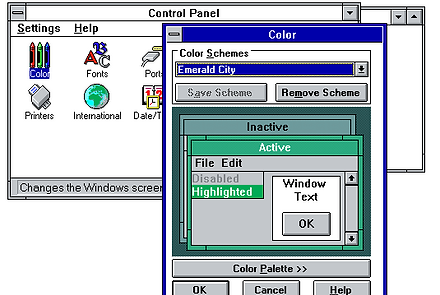
You can change your colour theme even this early on in Windows. Emerald city – nice.
It’s cool seeing that even back then in the inception of the OS that this was a consideration to allow users to customise the UI, and that they put some time into making a bunch of presets.
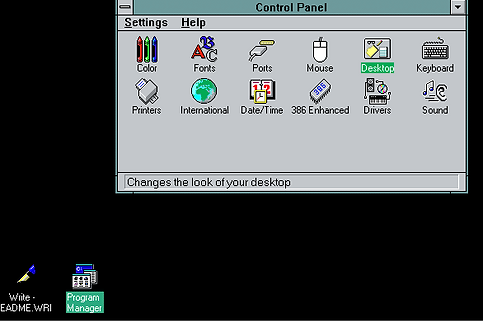
The control panel doesn’t have a lot on it.
There’s colour which is how you set the theme (above).
There are about 20-30 fonts, mouse settings, keyboard settings and the usual stuff.
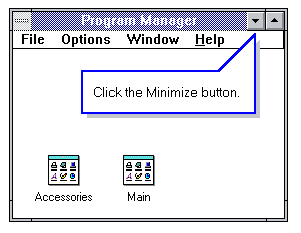
If you minimise everything, the program manager and “write – README” file sit floating in an endless void of death and mystery until the user graces them with the light of the UI.
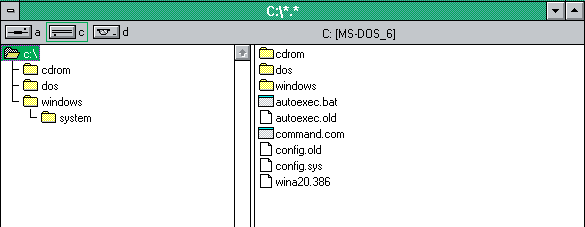
It’s also time for some system stuff. That’s your whole C drive. It’s the CDRom, DOS and windows. That’s it.
The defrag application won’t work within windows as you’re using the C Drive to keep the UI open, you have to exit Windows 3.1 and execute the defrag manually using MS DOS. Look at that – true retro tron-esk beauty.
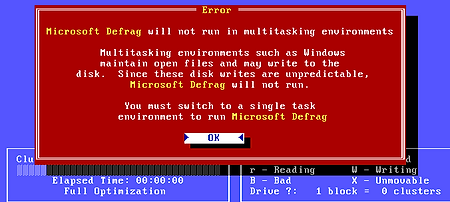
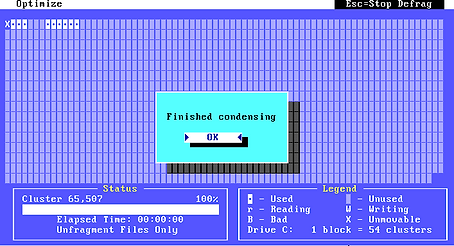
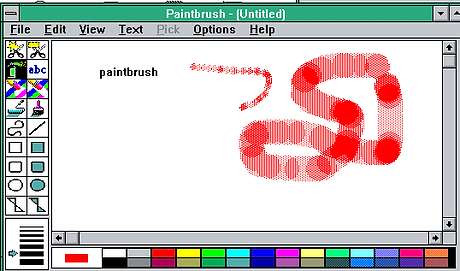
Then on to the other usual stuff before we get to the grand finale. Paint in Windows 3.1 is called paintbrush, not paint.
Making full use of those limited colours. The spray can is so satisfying to use.
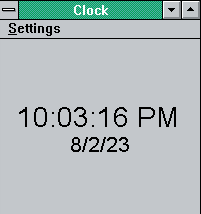
The calculator looks pretty cool. It looks like something someone made on a dodgy freeware website that’s going to give you 5 different malware and install 17 additional apps. The clock as an exe file you have to open is a weird concept to me. Then again – no taskbar.
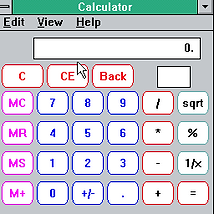
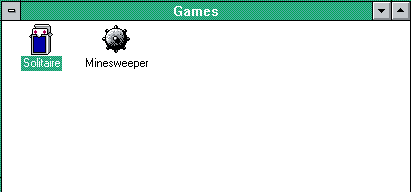
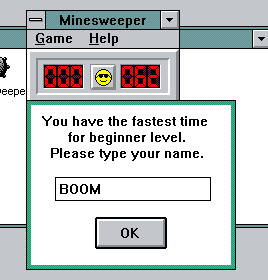
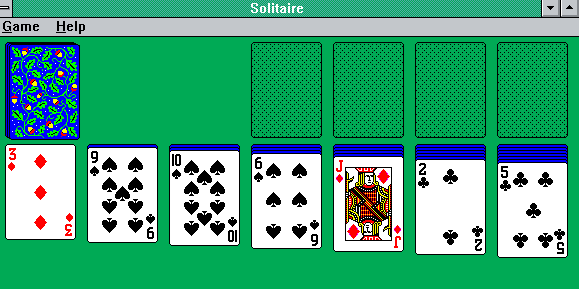
And finally, the best part of old Windows – the games. I beat a basic minesweeper and almost beat an intermediate level one. The main attraction, though, is the OG original solitaire. I came, I saw, I won. It’s a shame the keystrokes for leaving the VM to take a screenshot caused the visuals to stop, or I’d have got a screenshot of the cards falling. You’ll just have to trust me that I beat it without too much hassle (this time).
Summary
Well, it was a journey and a half. I had a great time. I learned a lot about various installs for Windows over the years. I completely forgot that floppy disks even existed, so having to use those to install an OS was a treat. I’ve never used DOS until now. I’ve used command prompt a ton, but not specifically DOS.
I’ve also learned a lot about VMWare workstation and some of the limitations the free version has. I will continue using it. I prefer the UI to VirtualBox and it just feels nicer to use. It would be nice to have all settings options available.
If I am to tier my favourite old OS’ by my experience here, I’d say it goes: Windows XP > Windows 95 > Windows 3.1 > Windows 98.
I’ve had a lot of fun, I’m glad I did it.
I’d highly encourage everyone to take a step back in time and do this, too. It takes a bit of time, some patience and the know-how, but it’s very worth it.
