
PROJECT
Linux Distros
Project Overview
I’ve been interested in the difference between the popular Linux distros for a while. What is Debian, what is Ubuntu (really?) and so on. It always felt like this thing you couldn’t learn and only very techy people knew. In my workplace the concept of virtualisation became introduced and with it, services running on Linux. So, it felt like a good time to do some homework on the subject and I decided to go on a journey to learn how to set up some popular Linux distros.
For this project I will be playing around with Debian, Ubuntu, Fedora, CentOS and Rocky.
I’m also going to be writing this page on my Linux Mint laptop.
Virtualisation
Firstly, I have to choose a virtualisation method to play around with these various Linux. Do I use an old laptop and make a hypervisor server, or do I use a software hypervisor to run virtual machines? It’s a small project in scope and they aren’t being used outside of these tests so I opted to use software virtualisation. The next question is, what software do I use?
The two most prominent solutions I found are VirtualBox and VMWare workstation. VirtualBox is open-source and has no restrictions but I’m not a huge fan of the interface. I opted in this case for VMWare workstation. It’s free for non-commercial use, has some limitations which don’t bother me and looks a lot better.
Goals
The goal of this project is to learn how to set up various Linux distributions but also to get the experience of creating and destroying virtual machines over and over.
For the sake of this project, setting up a Linux means:
- Updating the package manager
- Installing Python if needed
- Installing Nano if needed
- Setting up SSH
- Installing Docker and Docker Compose
- Setting a static IP
- Reverting back to DHCP
VM ISOs
Here are the locations you can find the ISOs for each distribution
Ubuntu: https://ubuntu.com/download/desktop
Fedora: https://fedoraproject.org/workstation/download/
Debian: https://www.debian.org/download
Centos: https://centos.org/download/
Rocky: https://rockylinux.org/download
To run virtual machines, we’re going to be using VMWare Workstation:
https://www.vmware.com/info/workstation-player/evaluation
Making the VMs
I’ll be going step-by-step for Ubuntu only. The distros are mostly the same. The only thing I’d prewarn you about is that with Red Hat installs, make sure to enable the eth0 ethernet connection when the networking settings come up. Not doing so can be a pain.
Let’s start our VM journey. After installing VMWare Workstation, go to File > New Virtual Machine.

Select your ISO that you downloaded in the step above.

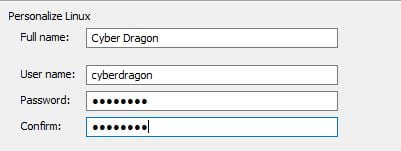
Add your intended name, user and password. You have to do this again later counter-intuitively.
Add in your intended machine name (for identifying it in VMWare)

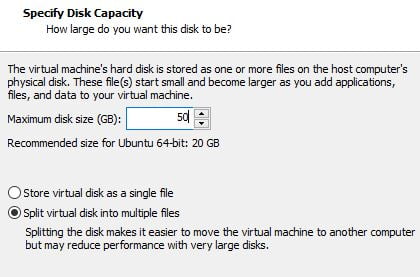
Split your virtual disk into multiple files and give it your preferred disk space. You may want more or less.
This is the equivalent of your C drive in Linux.
Next, click on Customize Hardware.

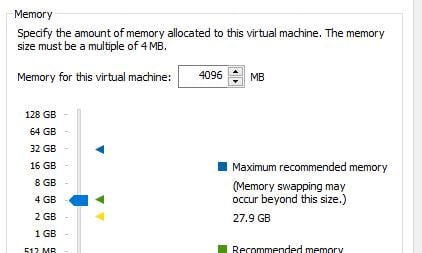
Set the memory to an increment of 1024. 4GB (4096) is fine; you can make do with 2GB (2048) is OK, too.
Set the processors (CPU cores) to whatever you want. 2 Works fine, it gets the job done.

Set the network adapter to Bridged. It makes networking easier to work with. If you’re setting up a production VM, make sure to check with IT.

After finalising the settings (you can change it later), it’s time to see that Ubuntu loading screen.
It’s very easy and intuitive, but we’ll go through it.
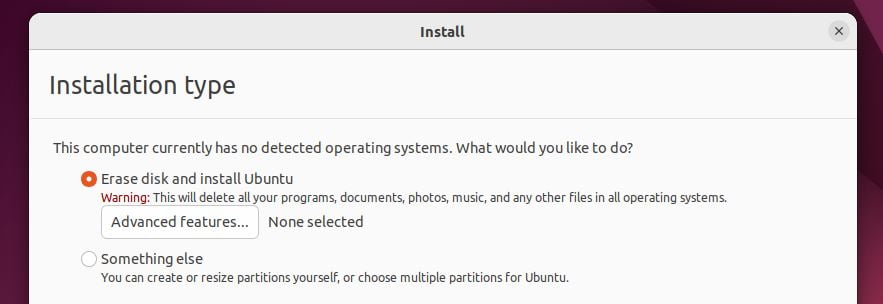
Normal installation. Well… unless you don’t want to! You can always install apps later.

You’re erasing the disk to install Ubuntu. There is no literal ‘disk’ in a sense, so don’t get paranoid that it’s going to wipe your C drive (it won’t).
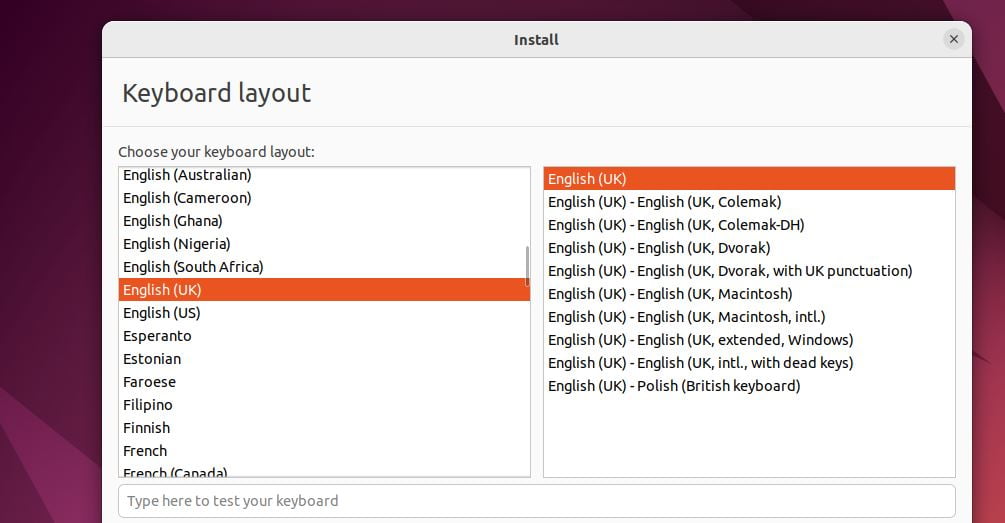
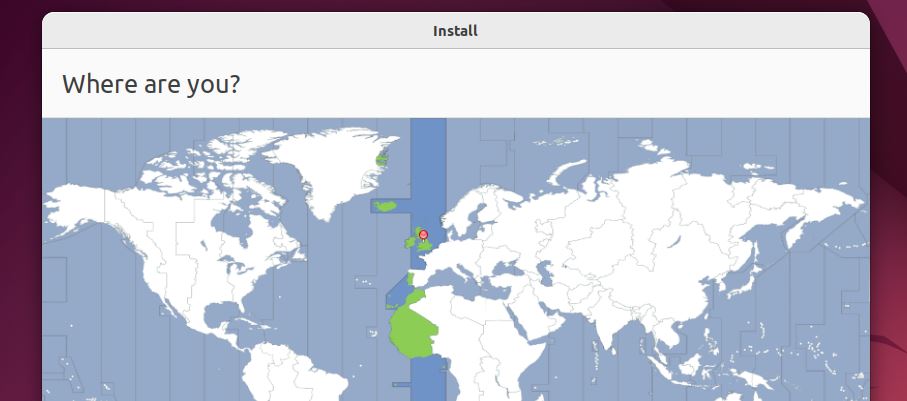
This is my favourite part of the Linux setup. The map just looks nice and snazzy. Select where you are.
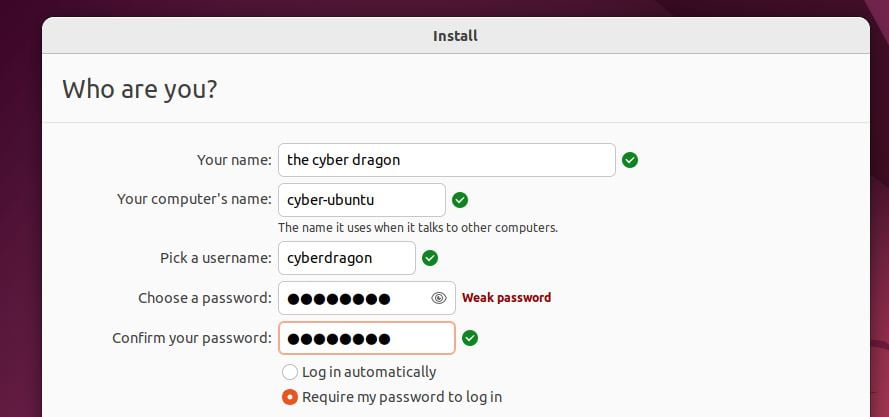
Put the same information in you put in earlier. You don’t have to, but these are the actual credentials you will use on the Linux. If you changed your mind from 3 minutes ago, you won’t break anything.
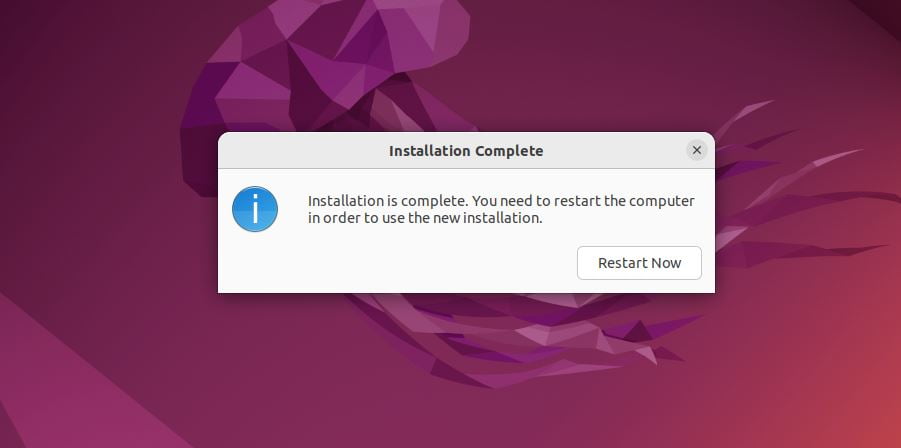
All done! Restart and get to setting up your new Ubuntu, no strings attached, delete it when you’re done.
Setting up the Distros
There are two primary branches I set up: Debian and Red Hat. Debian and Ubuntu fall under Debian, and Fedora, Centos Rocky fall under Red Hat.
Debian Distros - Debian
When setting up the networking in Debian and Ubuntu, I used two different methods, starting with nmcli and then using net plan using a yaml file.
Debian Distros - Ubuntu
I found the YAML method to be less appealing just because of the indentation being a factor in it working correctly whereas the nmcli method was just more intuitive in a command line environment. I’d rather type in the terminal knowing a space indicates the next argument instead of having a YAML fail due to improper indentation.
Red Hat Distros - Fedora
Red Hat Distros - Centos
Red Hat Distros - Rocky
Summary
After this exercise in experiencing the creation and configuration of various Linux distros using VMWare Workstation to spin up virtual machines, I have a few takeaways.
The difference between similar distros is basically unrecognisable in some cases. If you’re creating a VM to run a service, then it doesn’t really matter what distro you pick, as long as the one you pick is supported or recommended and if it doesn’t need a GUI, can run as a minimal install. Personally, I will always use Centos minimal because that’s what I use at work. If it works, it works, really.
Networking is pretty straight forward, albeit not intuitive when you don’t know how to to do it. If you know the steps, then it’s easy. If you don’t know how to even start, you can find yourself looking at different methods online which collectively confuse you, so unless there’s a requirement in an organisation to use one method over the other, just do what you know, I guess.
There are too many Linux distros over too many branches to learn, and you probably don’t need to learn a lot of them, just the ones you’re going to actually use. You might want to learn Arch Linux because you just want the challenge, but if you don’t want to learn it and don’t have to, then don’t. Like the look of Ubuntu but someone else uses Fedora and swears by it? Use Ubuntu or learn Fedora – there are enough distros to keep you busy.
My laptop is Linux Mint. I like it, it’s similar to Windows. My laptop isn’t the most high-tech piece of kit ever refurbished so a lite Linux like Mint Xfce works well for keeping my laptop under boiling-point. SQL instances and services work well using Centos minimal so I’ll generally just default to using that. There are so many flavours of Linux with so many overlapping features and methods of operating the system that it just really comes down to: What do you need to use? What do you want to use? What do you like? Have fun with it.
